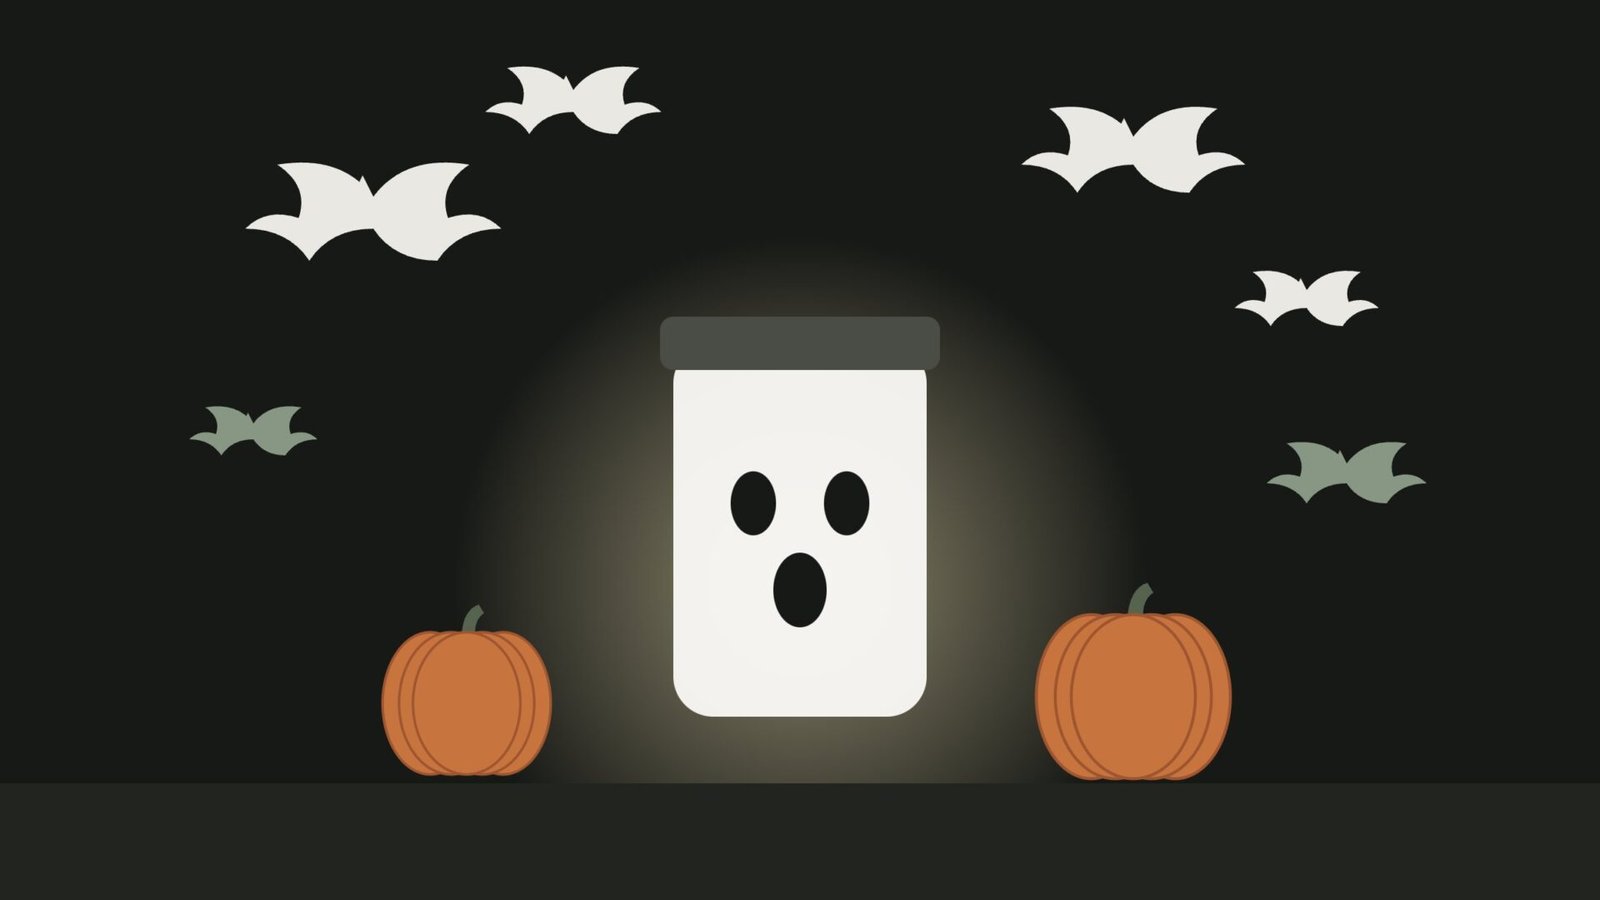
Store-bought Halloween decorations are fun, but they pile up quickly, and many end up in a box for the rest of the year. Homemade decorations cost less, use things you already have, and give you a reason to spend an evening making something with your family.
These easy DIY Halloween decorations are grouped by how long they take. Each one has a materials list, a time estimate and a difficulty level, so you can choose what fits your evening.
A note on safety first: decorations are surprisingly easy to set on fire. The US National Fire Protection Association (NFPA) warns that dried flowers, cornstalks and crepe paper burn easily, and advises keeping them well away from candles, heaters and light bulbs. Every project below uses battery-powered lights instead of real flames.
Quick decorations (under 30 minutes)
1. Paper bat wall
Materials: black card or paper, scissors, pencil, removable adhesive putty or painter’s tape. Time: 20–30 minutes. Difficulty: easy.
- Draw one bat shape on card and cut it out to use as a template.
- Trace and cut 15–30 bats in two or three sizes.
- Fold each bat gently down the middle so the wings lift off the wall.
- Stick them to a wall in a swooping line, as if they are flying out of a corner.
Tip: place the bats near a door or staircase, where people will notice them as they walk past.
2. Toilet-roll monsters
Materials: empty toilet-paper rolls, paint or colored paper, glue, googly eyes or white paper circles, markers. Time: 20 minutes. Difficulty: easy (good for kids).
- Paint the rolls or wrap them in colored paper.
- Add eyes and draw mouths, teeth or stitches.
- Line them up on a shelf or windowsill.
3. Window silhouettes
Materials: black paper, scissors, removable tape. Time: 20–30 minutes. Difficulty: easy.
Cut out shapes such as cats, witches, bats or a crooked house, then tape them to the inside of a window. They look plain in daylight but striking at night, when the room behind them is lit.
Evening projects (30–60 minutes)
4. Glowing jar ghosts
Materials: clean glass jars, white tissue paper, PVA or school glue mixed with a little water, black marker or paper, battery-operated tea lights. Time: 40 minutes, plus drying time. Difficulty: easy.
- Brush the glue mixture onto the outside of a jar.
- Press on torn pieces of tissue paper until the jar is covered.
- Let it dry completely.
- Draw or stick on a ghost face.
- Place a battery-operated tea light inside.
Use battery lights only. Tissue paper and glue are flammable.
5. Yarn spider web
Materials: white or gray yarn, scissors, removable hooks or tape, a toy spider (optional). Time: 30–45 minutes. Difficulty: medium.
- Fix six to eight lengths of yarn from a central point out to the edges of a corner or doorway, like the spokes of a wheel.
- Starting near the center, tie yarn to each spoke in turn, working outward in a spiral.
- Add a spider near the edge.
6. Painted pumpkins (no carving)
Materials: pumpkins, acrylic paint, brushes, newspaper. Time: 30–60 minutes, plus drying time. Difficulty: easy.
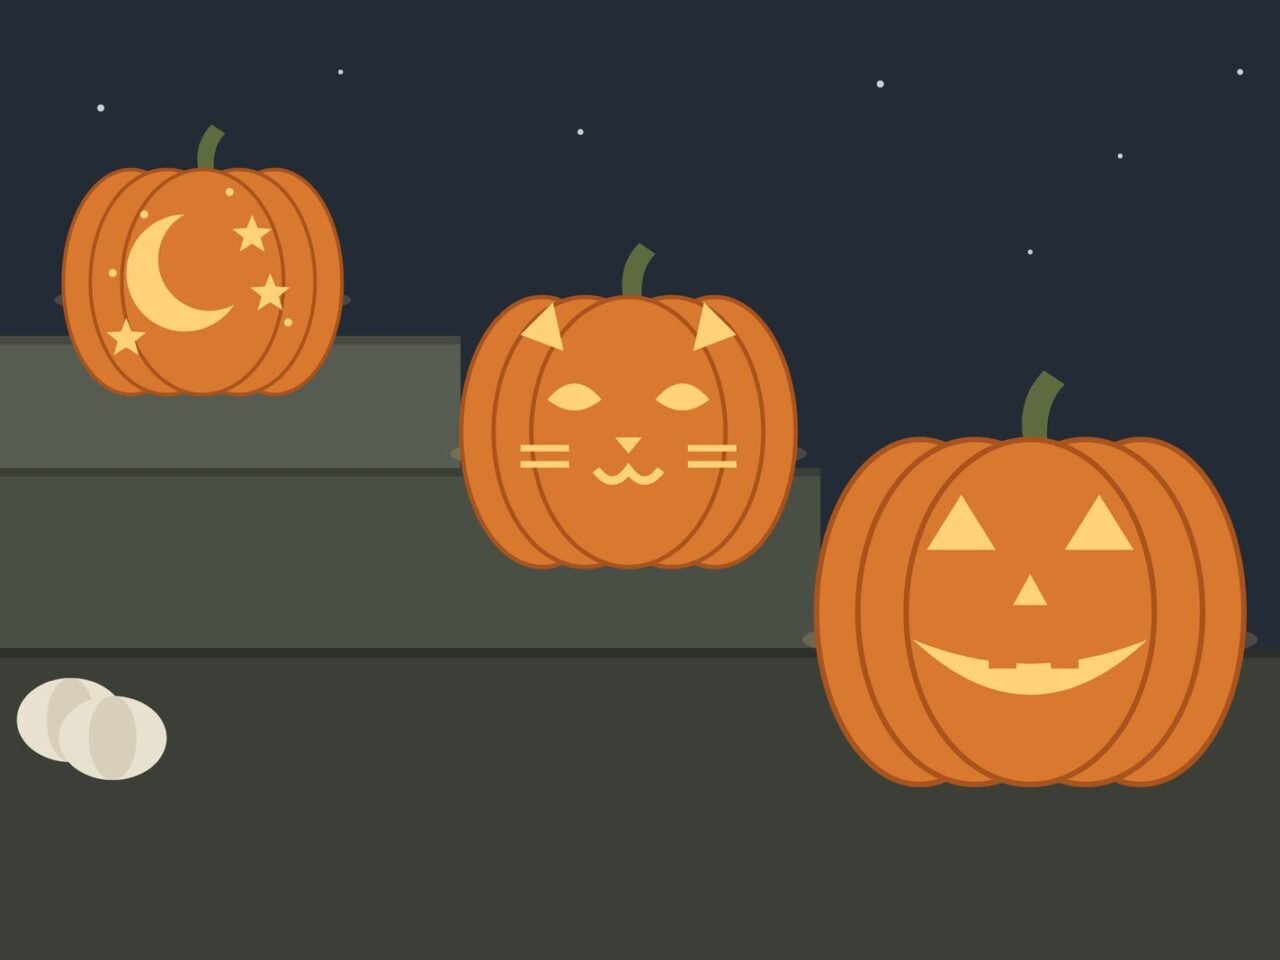
Painting is a good choice for younger children, because there are no knives involved. The American Academy of Pediatrics suggests letting small children decorate pumpkins with markers or paint, and leaving any carving to adults. Painted pumpkins also tend to last longer than carved ones, because the skin stays whole.
7. Cardboard tombstones
Materials: large cardboard boxes, scissors or a craft knife (adults only), gray paint, a black marker, sticks or garden stakes. Time: about 1 hour, plus drying time. Difficulty: medium.
- Cut tombstone shapes from flat pieces of cardboard.
- Paint them gray, adding darker patches for an old-stone look.
- Write funny epitaphs, such as “Here lies my diet.”
- Tape a stake to the back and push it into the ground or a planter.
Statement pieces (1–2 hours)
8. Hanging cheesecloth ghosts
Materials: cheesecloth or thin white fabric, small balloons or foam balls, fabric stiffener or diluted glue, string, black felt. Time: 1–2 hours, plus overnight drying. Difficulty: medium.
- Drape the wet, glued fabric over a balloon or ball on top of a bottle, so it falls into a ghostly shape.
- Leave it to dry overnight.
- Remove the support, add black felt eyes and hang it with string.
Safety: keep fabric ghosts away from lamps, heaters and candles.
9. Glow-stick lanterns
Materials: clear jars or bottles, glow sticks, water (optional), stickers or paper shapes. Time: 15 minutes, on the night. Difficulty: easy.
Activate the glow sticks and drop them into jars to light up a path or table without any flame. The NFPA also recommends glow sticks and flashlights as safer alternatives to candles. Supervise young children so they don’t bite or break the sticks.
10. Autumn leaf garland
Materials: real or paper leaves, string, a needle or tape. Time: 1 hour. Difficulty: easy.
Thread or tape the leaves along a string and hang it across a mantel or window. Dried leaves burn easily, so keep this garland well away from fireplaces, candles and heaters.
Which decoration should you make?
| Decoration | Time | Difficulty | Kid-friendly? | Indoor or outdoor |
|---|---|---|---|---|
| Paper bat wall | 20–30 min | Easy | Yes | Indoor |
| Toilet-roll monsters | 20 min | Easy | Yes | Indoor |
| Window silhouettes | 20–30 min | Easy | Yes | Indoor |
| Glowing jar ghosts | 40 min + drying | Easy | Yes, with help | Indoor |
| Yarn spider web | 30–45 min | Medium | Older kids | Both |
| Painted pumpkins | 30–60 min | Easy | Yes | Both |
| Cardboard tombstones | 1 hour | Medium | With adult cutting | Outdoor |
| Cheesecloth ghosts | 1–2 hours + drying | Medium | Older kids | Both |
| Glow-stick lanterns | 15 min | Easy | Supervised | Both |
| Leaf garland | 1 hour | Easy | Yes | Indoor |
Decoration safety checklist
Based on advice from the NFPA and the US Consumer Product Safety Commission (CPSC):
- Use battery-operated candles, flashlights or glow sticks instead of open flames wherever you can.
- Keep paper, fabric, cornstalks and dried leaves away from heaters, bulbs and candles.
- Don’t block exits with decorations.
- Use only lights tested by a recognized lab, check them for frayed wires or cracked sockets, and don’t overload extension cords.
- Keep lit pumpkins and candles away from doorsteps and paths, where costumes might brush against them.
FAQ
What are the cheapest Halloween decorations to make?
Paper bats, window silhouettes and toilet-roll monsters use paper and recycled materials you probably already have.
Is it safe to put a real candle in a decoration?
It’s safer to use battery-operated lights. The NFPA recommends flashlights or battery candles in jack-o’-lanterns, and extreme caution if you use a real flame.
The bottom line
The best homemade Halloween decorations are simple, safe and a little bit silly. Pick two or three projects that suit your time, light them with batteries rather than flames, and enjoy the evening making them.
Comments